OS X El Capitan Lets Users Install Third-Party Extensions in Photos
With today’s release of OS X El Capitan, users can now install third-party photo editing extensions on their Mac and use them alongside the built-in tools in Apple’s Photos app.
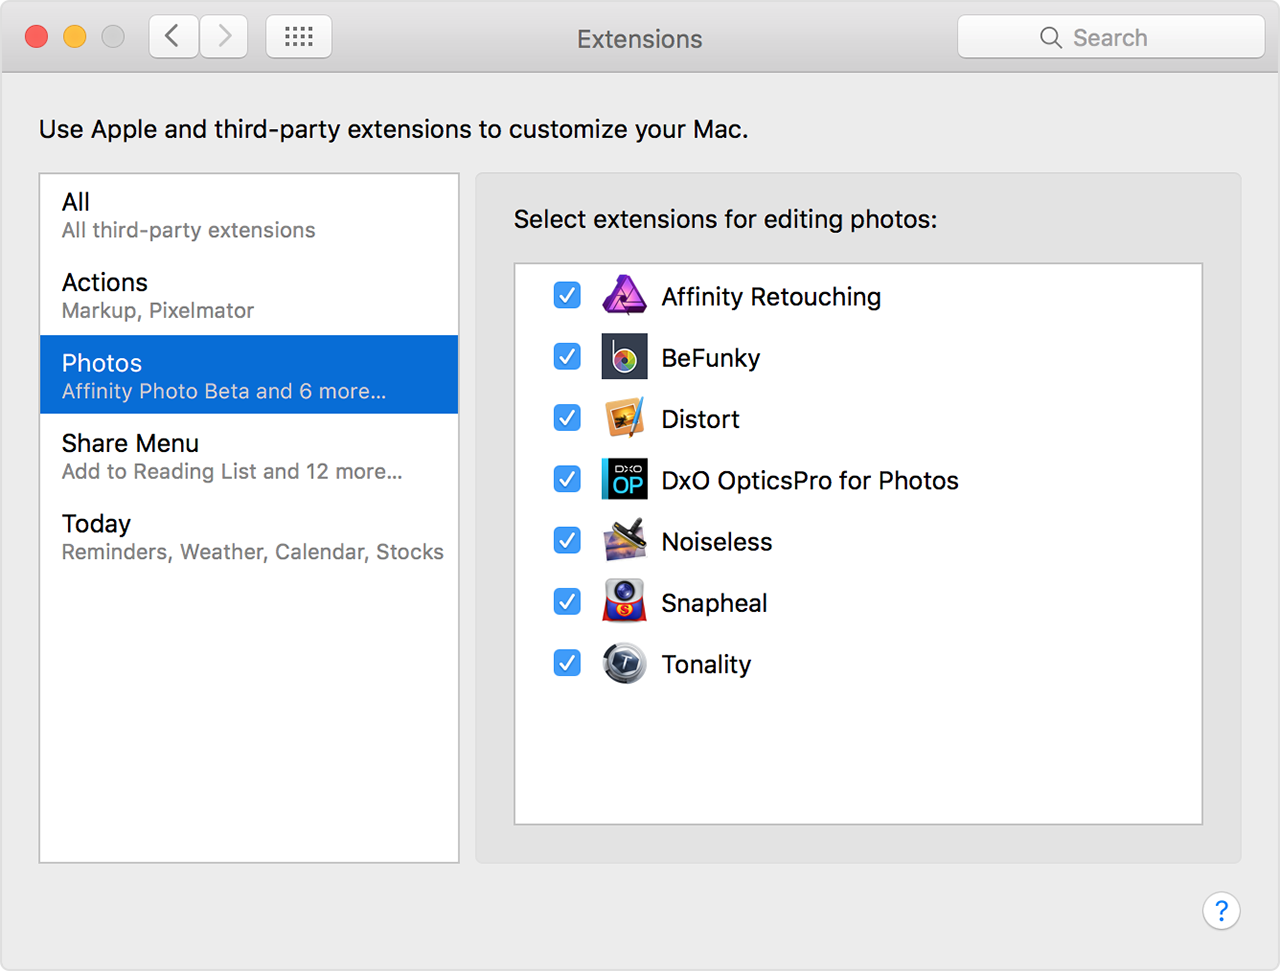
These third-party extensions expand your editing options in Photos. You can edit a photo using multiple extensions, in addition to all the built-in editing features of Apple’s Photos app. Here is a step-by-step guide on how to set up extensions in Photos:
1. Find and install third-party extensions for Photos in the Mac App Store.
2. Launch System Preferences on your Mac, then click Extensions.
3. In the sidebar on the left, click Photos.
4. Click the checkboxes for all the extensions you want to enable.
After you set up your extensions, follow the guide below to use an extension when editing a photo:
1. Double-click a photo in your library to open it in single view, then click Edit.
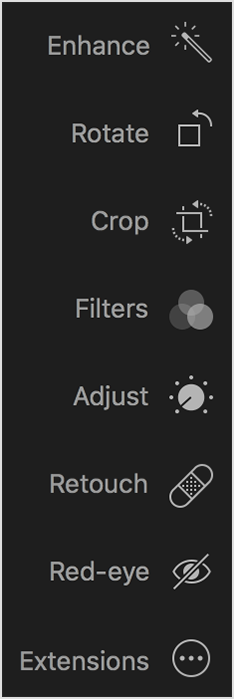
2. Click Extensions, which can be found at the bottom of the Photos editing tools on the right-hand side of the window.
3. Choose an extension from the menu.
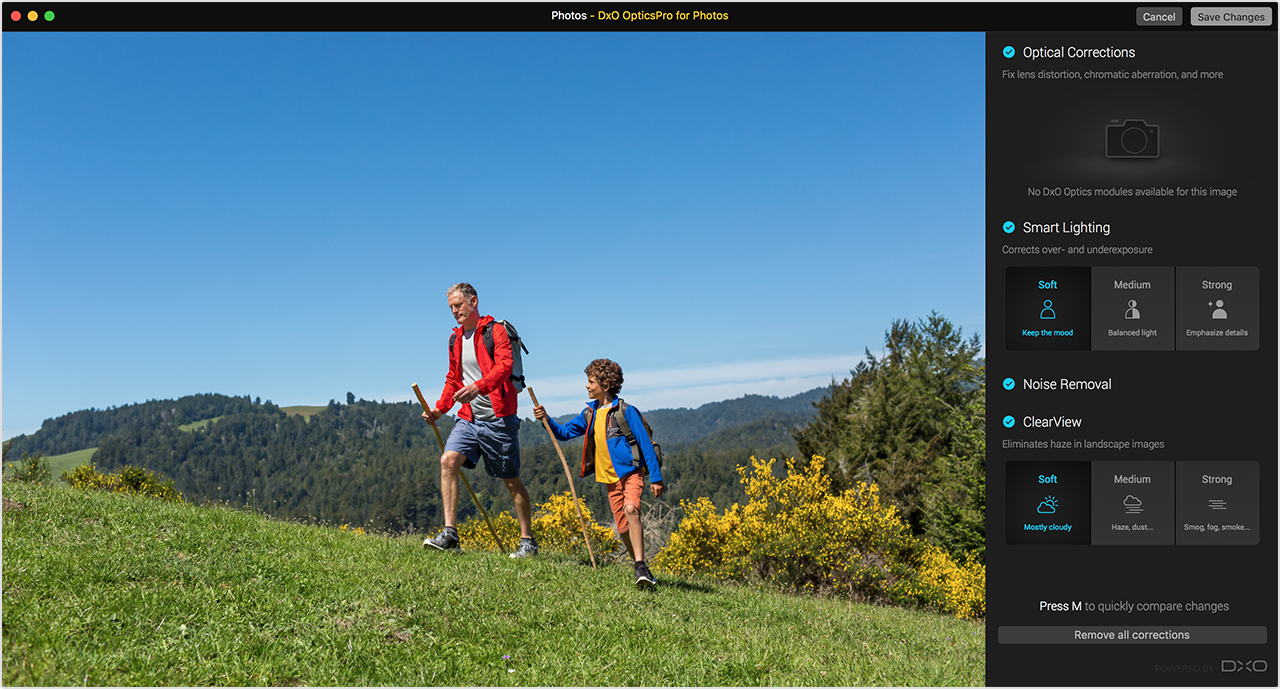
4. Edit the photo with the extension’s tools that appear to the right.
5. When you’re satisfied with your edits, click Save Changes. You can choose another extension to apply further edits to the photo, or use any of the editing tools that are built into Photos.
6. Once you are finished editing, click Done to exit the edit mode.
Even if you edit a photo using a third-party extension, the Photos app will still allow you to revert image back to its original state.
