iPhone Photography Tip: Using One Picture For HDR
In one of my previous posts I talked about HDR Photography using Pro HDR. As you may recall one of the options is to chose two pictures from within your photo library and combine them.
As I mentioned, not a lot of people go around taking a picture that’s under exposed and over exposed for the same scene. Also, sometime you don’t have time to take two pictures. But even with one photo, you can still turn it into an HDR picture.
All you need is an app that allows you to edit a pictures exposure. I use Photoshop Express. It’s free.
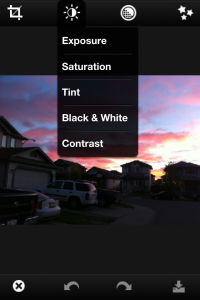
Open the picture you’d like to use. Along the top tap the symbol that looks like a sun, and pick exposure.
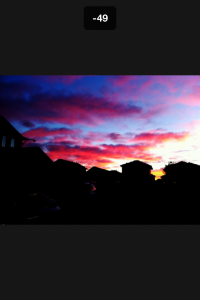
Use your finger to slide to the left to darken the picture. This will ensure your bright areas retain detail. Once you’re happy with the result save the picture to your photo library.
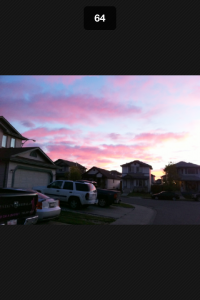
Next you’ll want to chose the same picture again. Make sure it’s the original, and not the edited one you just saved. Select exposure again, but this time slide your finger to the right. This will bring out the highlights in the dark areas. Again, once you’re happy with the results save the picture.
Once that’s done, you can run Pro HDR using the Library HDR selection and follow the instructions.
Using this method also ensures your pictures line up perfectly and I’ve found that in many cases, the resulting HDR pictures looks better.

