The following is a guest post by Boxla, a dedicated iPhone in Canada reader. Any questions can directed in the comments!
It has come to my attention that a lot of apps for the iPhone to be ultilized to their fullest extent require you to be able to use SSH on your iPhone. And to go even further, if you become very confident in using SSH you can also use it to put ringtones on your iPhone, or modify other files. I simply use SSH to change my carrier logo (top left where is says ROGERS, or FIDO, you can actually change it to a picture but I have yet to find the file name for “ROGERS” to replace), and put ringtones on my phone. Anyhow here is the tutorial.
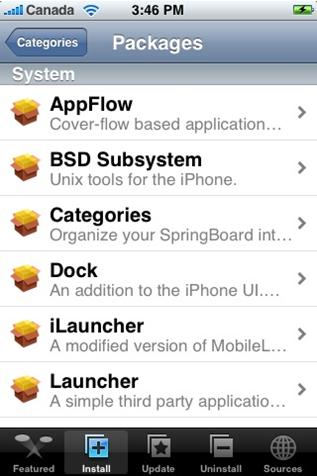
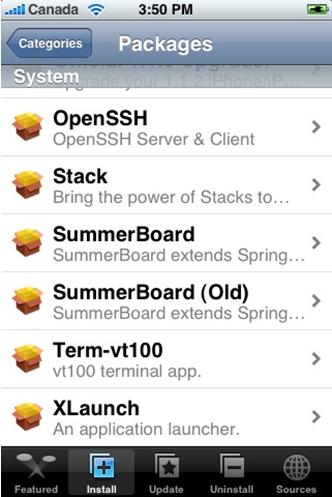
Step 1: Install BSD Subsystem (found in the Installer under “System”)
Step 2: Install Open SSH (if not already installed, also found in the installer under “System”)
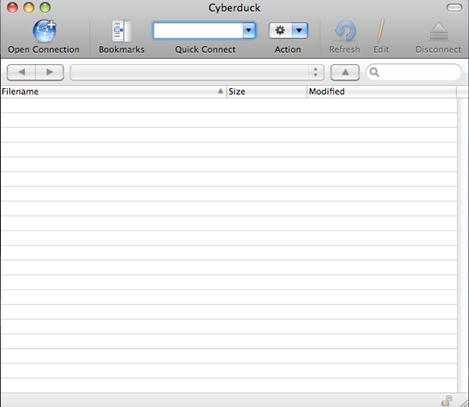
Step 3: Download a SFTP program. (I prefer Cyber duck myself linked here http://cyberduck.ch/ but I also use Mac, for windows user to popular tool is WinSCP linked here http://winscp.net/eng/download.php – download2)
Step 4: Open your new SFTP program. With Cyber duck you must click on Open connection in the top right of the window (WinSCP users I apologize I have never used the program and would be of no help from here, I have heard it is self explanatory though…)
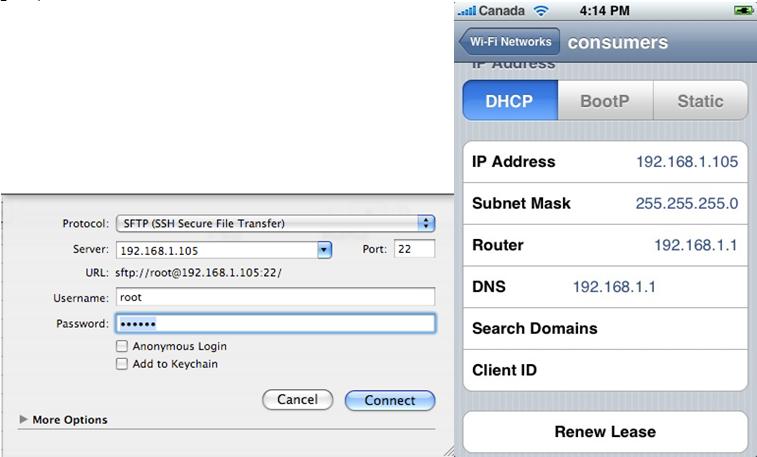
Step 5: A new window will pop up. Click the drop down menu and select SFTP. Then enter your phones IP address which can be found by going to Settings-?Wi-fi-? then clicking the blue button beside your Network. The your screen will look similar to this screenshot with your phones IP address.
Enter the user name as “root” and the password as “alpine” (unless you changed it in the past) then click connect
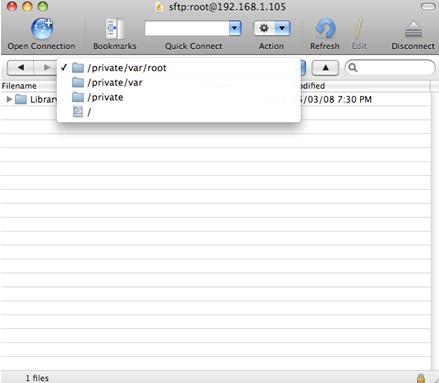
Step 6: You are now in your phones File hard drive. Click the drop down menu and click “/”. From there you can navigate around the phone.
Additional info: Additionally if you wish to install ringtones as I do. Click Library?Ringtones. This is where your ringtones are stored. Simply go to iTunes select a song you’d like to use by holding ctrl then clicking (simply right click on windows). Select convert to AAC.
After it is finished converting, drag the new file to your desktop. Rename it to an .m4r. Then drag it into the Ringtones directory on cyberduck or WinSCP. It will now appear in your ringtones on your phone (but not iTunes).
A warning. If you mess around using SSH you will do severe damage to you iPhone. Do not play around like you would with the installer or other apps. Simply doing a restore SHOULD help you but sometimes it might not. Myself nor iPhoneCanada.ca is not responsible if anything were to happen to your iPhone using this guide. Read the disclaimer of the website!
Thanks to Boxla for the guest post! I’m sure everyone here will find this guide helpful. I will have another post in more detail about how to transfer ringtones come up later. Watch for it!
Do you like write? Are you passionate about your iPhone? Send me a guest post to phone.in.canada AT gmail DOT com and it might be featured here! =)
Today is the day where a once-in-a-lifetime event will take place with a total solar eclipse, where the moon will pass by in front of the sun and cast its shadow (umbra) on Earth. In order to see the total solar eclipse live, you’ll need to be in a location where the path of totality...
Last month, when we wrote about Ontario debuting its One Fare program, we noted that PRESTO Apple Wallet support was still missing in action on the TTC. But despite the lack of official PRESTO card support in Apple Wallet on the iPhone, it’s still possible to use the latter to tap to pay—without unlocking your...
It’s that time of the year, when Hollywood comes together for the annual Academy Awards. The 96th Oscars are set to take place live on Sunday, March 10, 2024. Here’s how you can watch the 2024 Oscars live in Canada. For 2024, the 96th Oscars will take place at a new time of 4pm PDT/7pm...