Jailbreaking and Installing a Custom Boot Logo, with redsn0w 0.9
As you may have heard, a new beta version of the iPhone Dev Team‘s easy jailbreak tool, redsn0w 0.9, has been released. It jailbreaks all Apple touch devices, on firmware 3.0 and 3.1.2, except iPod Touch 3rd gen, but this will be fixed when it is out of beta. It is available for Mac and Windows. <– Click your operating system to download redsn0w 0.9 beta3, now!
One of the coolest new features, is the ability to customize your boot logo, without having to do a complete restore, like with Pwnage Tool.
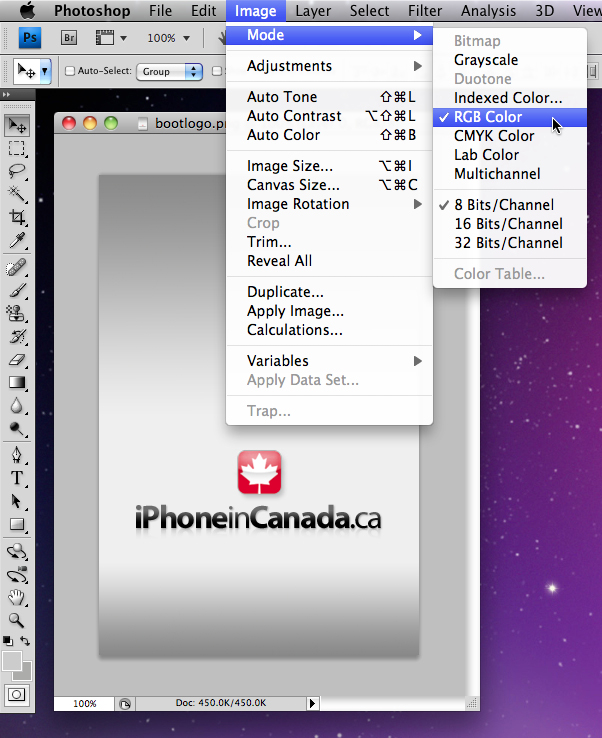
Your boot logo, is the first screen you see, when you start up your iPhone. The stock logo, is the Apple, of course, or if you used the Pwnage Tool, it may be the Pwnapple. To have your own boot logo, first thing you need to do, is find or create an image that you want to have as your logo. The image must be 320 X 480 pixels, in size, and in PNG format. The colour must be either in grayscale, or RGB (alpha channel). It must be no more than 100kb, in size. I use Photoshop to create mine. Feel free to get creative, just stick to these rules.
If you’re not artistically inclined, but you still want a different boot and/or recovery logo, you can just search the web, and you’ll find some already created for you. I did an image search on Google, and came up with a bunch of results.
Now you need to get your new logo on your device. Enter, redsn0w! Make sure you have the proper firmware for your device, the proper version of redsn0w for your computer, and your boot logo ready to go. I’m adding a custom boot logo to my iPhone 3GS, on an iMac, running Snow Leopard, for this demo. The steps outlined below, can be used to jailbreak your device, as well, but you make a couple of different choices along the way. Here’s a video demo of  jailbreaking an iPhone 3G, with redsn0w:
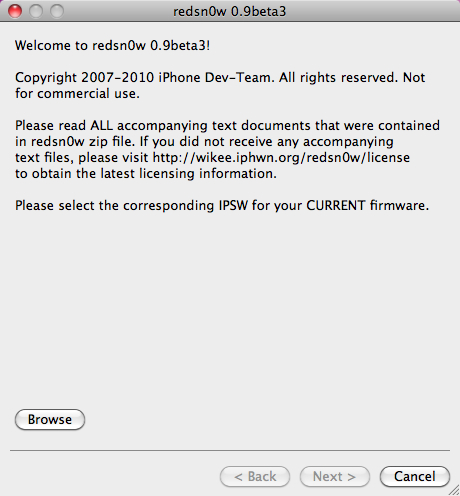
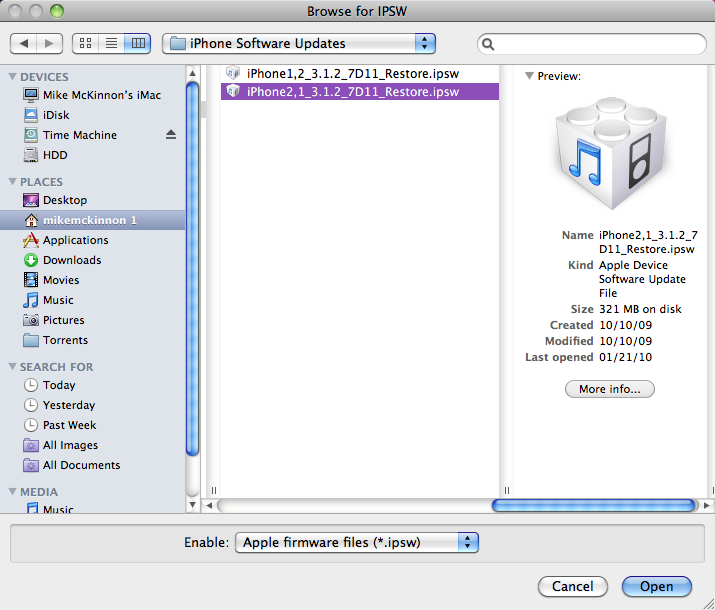
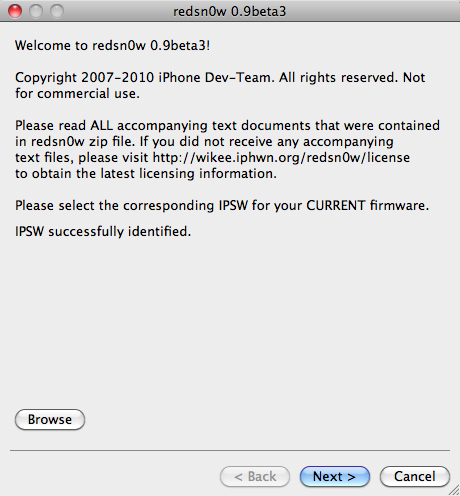
Now, we’ll use pretty much the same steps as in the video, just with a couple of changes. Open up redsn0w. Click browse, and find the firmware that corresponds to your device. Click open.
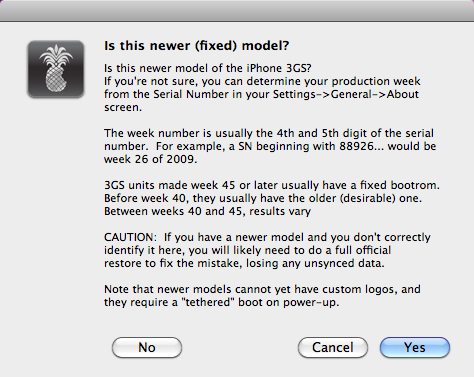
If you are doing this with your iPhone 3GS, you will see a screen asking you if you have a newer 3GS, with the fiixed boot rom. Make sure you choose wisely, or you may need to do a complete factory restore, in iTunes. If you do have a newer 3GS, you are not able to install custom boot logos, at this time. If you have an iPhone 3G, you won’t see this screen.
Once redsn0w figures out what firmware it’s using, click “Next”.
Redsn0w will now download and patch the kernal.
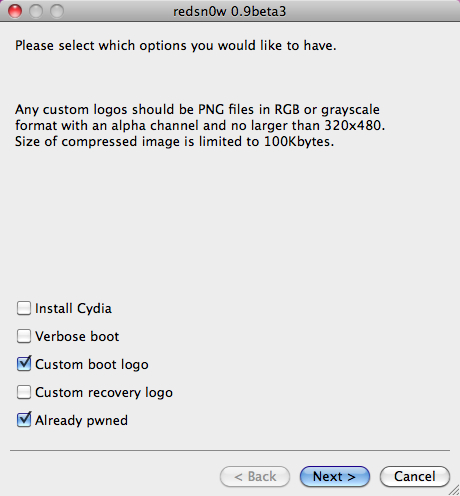
This next part is crucial. Make sure you select the right boxes here. If you have already jailbroken your device, make sure you check the box that says “Already pwned”. If you’re jailbreaking, as well, leave this box unchecked, and check the “Install Cydia” box. Click the box next to “Custom boot logo”, and navigate to where you saved your image. Click “Open”. If you have a custom recovery logo, as well, click the box and find your image. Click next, when you’re done.
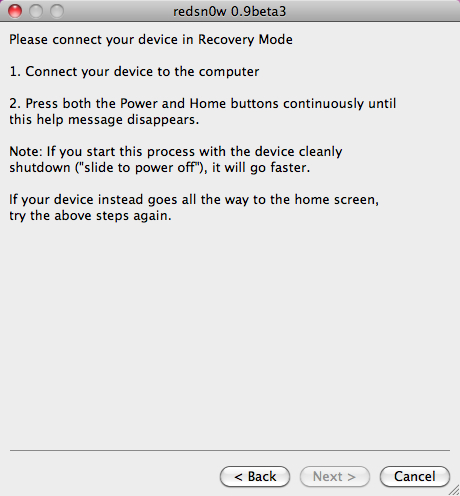
For iPhone 3G, you will be prompted to put your device in DFU mode. For iPhone 3GS, you will be rpompted to put your device in recovery mode. The steps they give for iPhone 3GS take a little over a minute or so. Don’t let go of the buttons, until you see redsn0w start the jailbreak process! There is a quicker way to enter recovery mode, than they show in redsn0w. Turn off you iPhone before connecting it, then hold the home button while plugging it in. Again, don’t let go, until redsn0w starts doing it’s thing. Putting your iPhone 3G in DFU mode is pretty straight forward, as you just follow the prompts they give you.
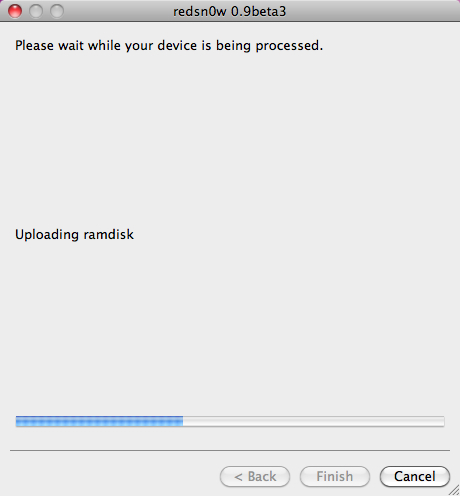
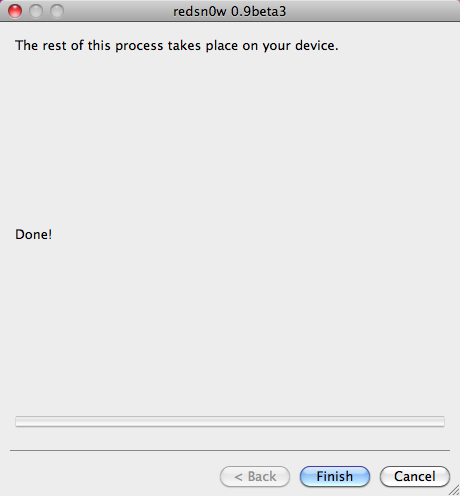
That’s it. Click “Finish”, and we’re all done! When your iPhone reboots, you should see you new boot logo. Here’s mine:
For more iPhone releated articles, please visit Green Candy. Don’t forget to follow me on Twitter: @rorypiper
