How to Make Bootable OS X El Capitan Install USB Drive
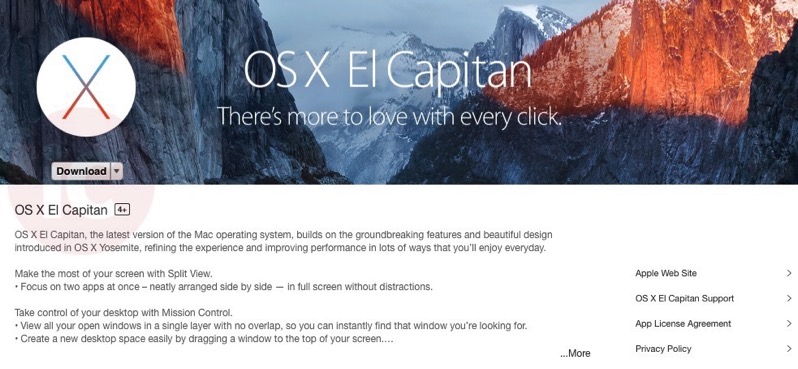
Earlier today, Apple finally released OS X El Capitan to general public as a free download via the Mac App Store, with tons of new features, performance updates and security fixes. While Apple does not officially offer its OS via optical media or USB sticks, you can always keep a physical copy of your Mac App Store download in the form of a bootable install USB drive, which is quite useful if you ever wish to do a clean install of the operating system.

Below are the step-by-step instructions on how to create a bootable OS X El Capitan install USB drive (via OS X Daily):
Step 1:
Download OS X El Capitan from the Mac App Store, but don’t install it yet.
Step 2:
Connect a USB drive (8GB or larger) to your Mac and rename it to ElCapInstaller.
Step 3:
Now launch the Terminal application, found in /Applications/Utilities/ and enter the following command exactly (update: we updated the command below as it was incorrect. It should work now, apologies):
Step 4:
Hit the Return key and enter the administrator password when requested. You’ll then see the following screen text in the Terminal:
“Erasing Disk: 0%… 10%… 20%… 30%…100%…
Copying installer files to disk…
Copy complete.
Making disk bootable…
Copying boot files…
Copy complete.
Done.”
This may take a while to complete.
Step 4:
Once you see “Done”, that’s it. Your bootable OS X El Capitan installer drive is ready, and you can use it to update as many Macs as you want to with OS X 10.11.
Tip: To boot from the installer drive, hold down the Option key during Mac system start, and select it from the startup volume menu. Otherwise, you can insert the USB flash drive into any Mac and launch the installer directly from the drive.

