How to Find the Best Wi-Fi Channel with Wireless Diagnostics in OS X
If you’re experiencing degraded Wi-Fi performance at your home, it may be a good idea to switch to a different Wi-Fi channel. And if you’re an OS X user, things couldn’t get any easier as Michael Birenbach points out that OS X’s built-in ‘Wireless Diagnostics’ tool lets you find the best and most interference free channel to use for your Wi-Fi network (via SixColors).
The following steps are for OS X Yosemite, but the principles should be the same for all recent versions of OS X:
Step 1:
Hold down the Option key on your keyboard and click on the Wi-Fi menu in your menu bar.
Step 2:
Choose “Open Wireless Diagnostics…” and click Continue.
Step 3:
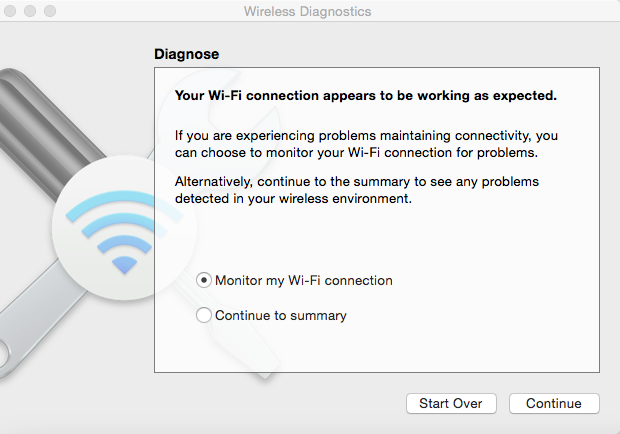
Enter your admin username and password. Then, wait for the initial diagnostic to finish (it may take a few seconds). It’ll tell you everything is working as expected, which is normal. Do not close this window.
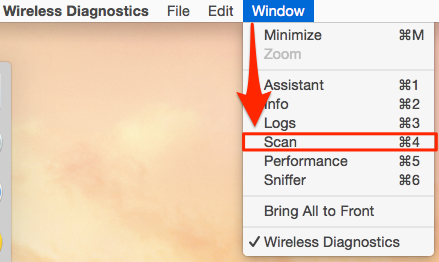
Step 4: Next, from the Window menu, choose Scan.
Step 5:
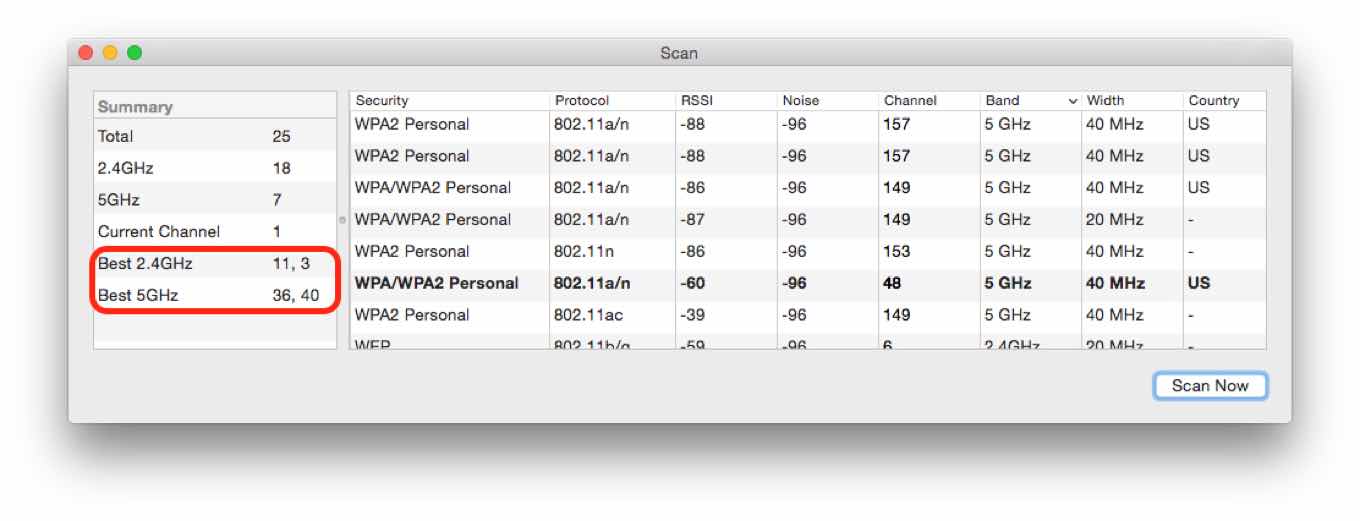
This will open up a window with a detailed amount of information about all the Wi-Fi networks in your vicinity, along with suggestions for the best 2.4GHz and 5GHz channels, as seen below:

Changing your Wi-Fi channel varies depending on routers, but it’s generally pretty straightforward. Let us know if this helped you out.


