
How to Add Another User to Apple HomeView [VIDEO]
Apple shows how to invite people to your Home, set up voice and face recognition, and give everyone their own HomeView screen.
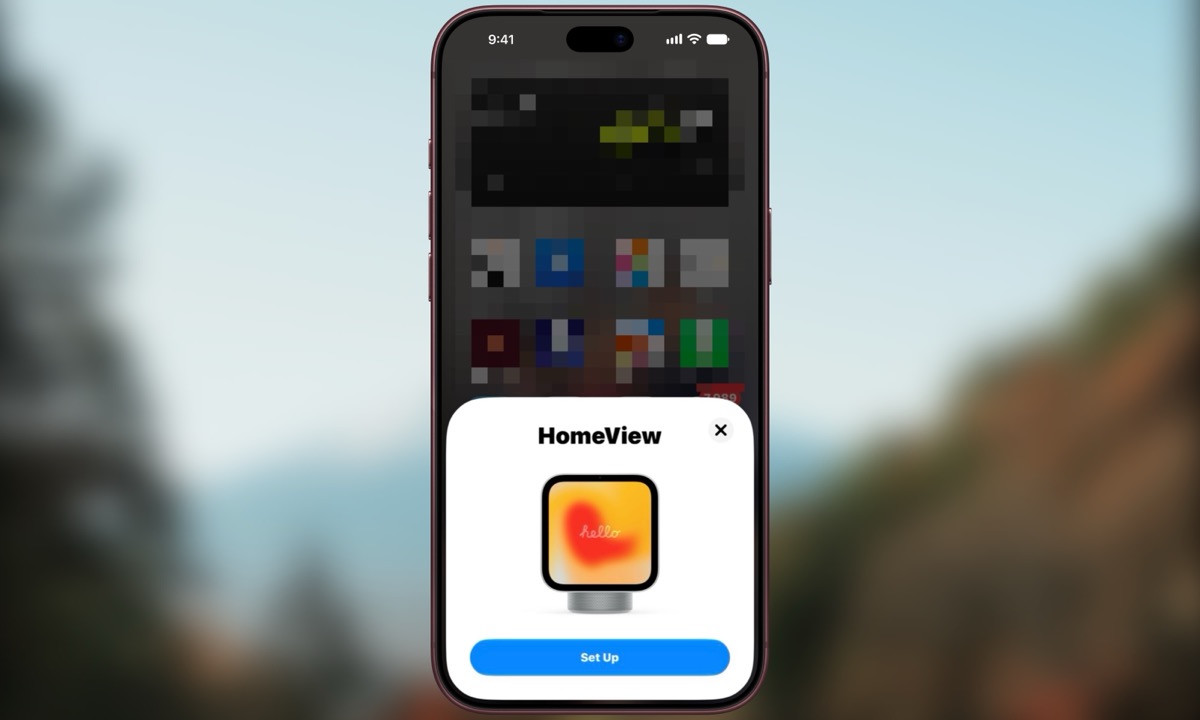
Just unboxed a HomeView? Apple’s new smart display uses your iPhone or iPad to get started, but there are a few more steps on the display itself before you’re ready to use it.
Apple Support has released a walkthrough covering the whole process, including pairing your device, choosing a Photos Face and setting up voice and face recognition. The person setting it up needs to be the designated Owner in the Home app, with their iPhone or iPad updated to the latest software and connected to Wi-Fi.
HomeView then finishes setting up your personal content, such as widgets and playlists. When prompted, tap Done on your iPhone or iPad and Continue on HomeView.
Next, say the five phrases shown on HomeView so it can learn your voice. Tap Get Started for face recognition, centre your face and move your head left, right, up and down as directed until the circle turns green.
Follow the short navigation tutorial, then swipe up from the welcome screen to begin using HomeView.
One thing to allow time for is a software update, which may be required before setup. In our hands-on review, the initial download and installation took about 15 minutes. Once everything is running, you can also add other people to HomeView so they get their own personalized screen.
Watch Apple’s full setup video below:

Image: iPhone in Canada
Want to see more of our stories on Google?

P.S. Want to keep this site truly independent? Support us by buying us a beer, treating us to a coffee, or shopping through Amazon here. Links in this post are affiliate links, so we earn a tiny commission at no charge to you. Thanks for supporting independent Canadian media!

