How to Setup Touch ID Fingerprints To Never See “Try Again” Error
Are you seeing the “Try again” prompt from your iPhone 5S Touch ID fingerprint sensor a lot? Well, follow this neat little trick I implemented a few weeks back, to register your fingerprint in a more precise manner, so you won’t see that annoying prompt that often. In fact, ever since I’ve set up my fingerprints using this method, the “Try again” message has pretty much disappeared.
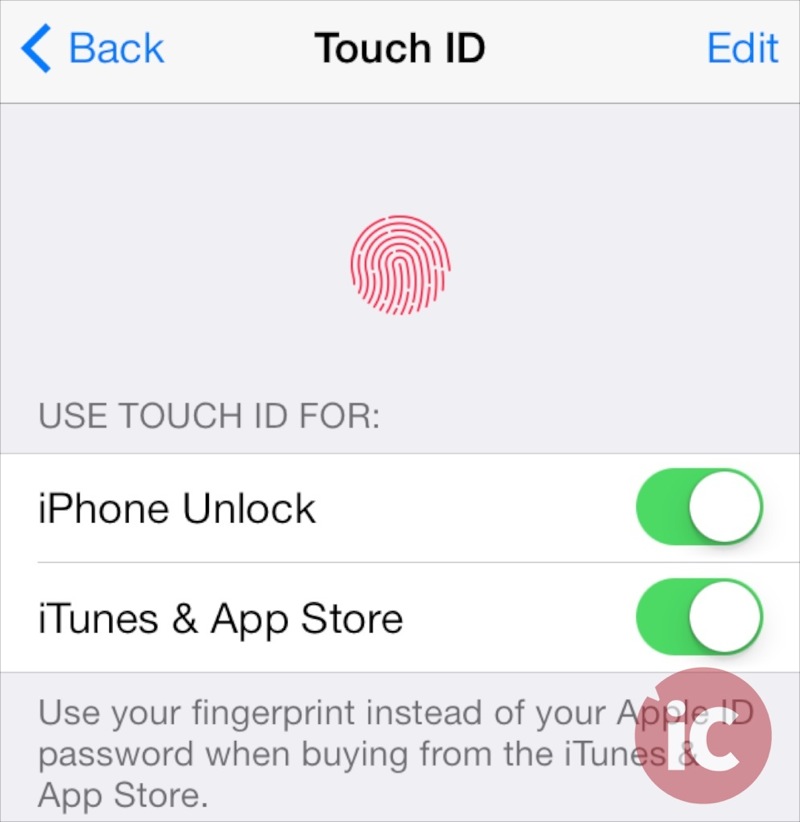
Make sure you remove all existing fingerprint entries from Touch ID before proceeding. Also, one finger or thumb will use up two Touch ID fingerprint slots when using this method. However, since the majority of people naturally use only their thumbs to unlock their iPhones, registering both thumbs will still leave you with one extra slot (out of total 5), allowing you to set it up for any other person (such as your spouse) you want to give occasional access to or another finger.
Now follow these steps:
Step 1
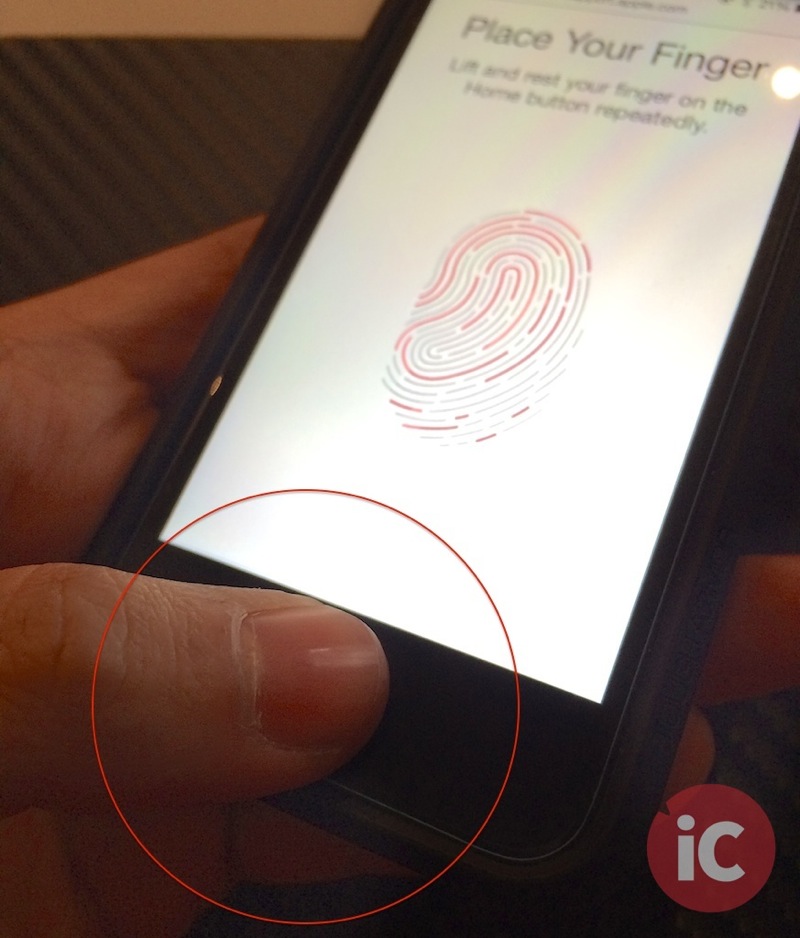
First, register your thumb (left or right) with Touch ID by placing it on the home button / scanner as you normally would (see below). Just make sure the home button and your thumb are clean and dry. Also, ensure the maximum area of your thumb is in contact with the home button while scanning. Continue to touch and lift your thumb as instructed, till the process is completed.
Step 2
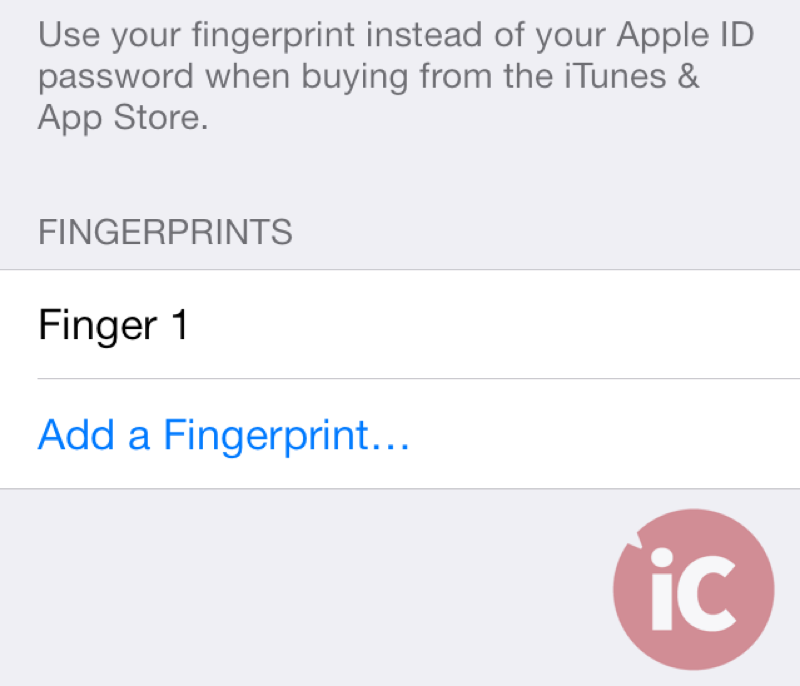
Once your first thumb’s fingerprint is saved, it will appear as “Fingerprint 1”.
Step 3
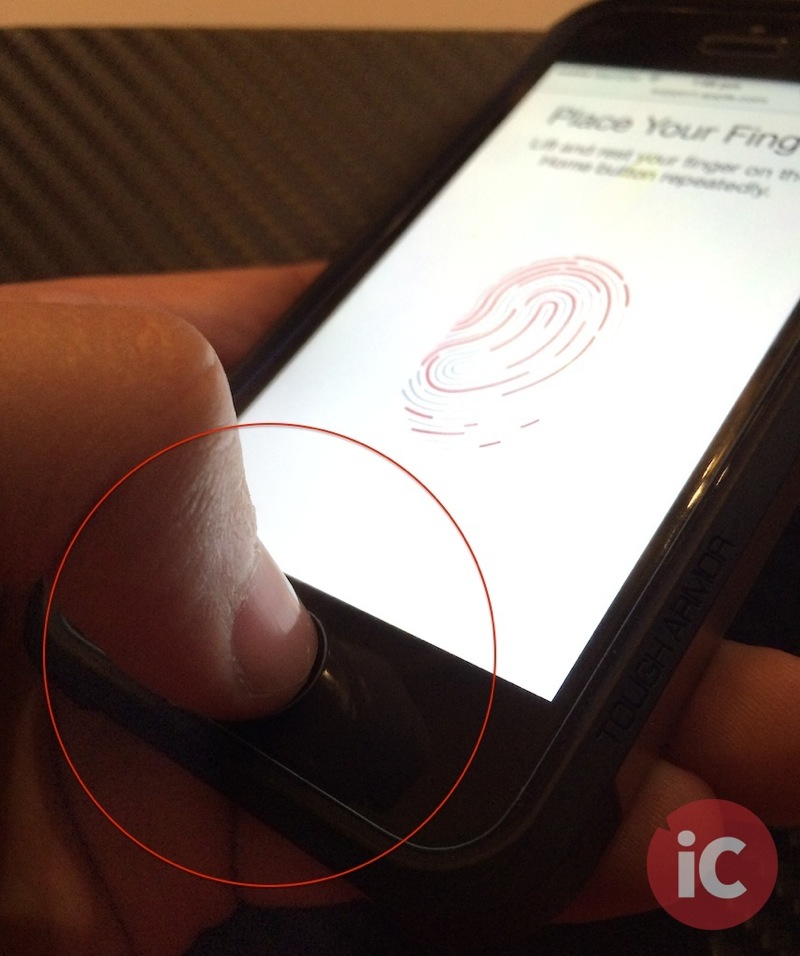
Now tap on “Add a Fingerprint…” and register the same thumb you did in first step, only this time, place your thumb’s tip on the scanner as shown in the image below. Just hold the iPhone casually as you would in routine, and continue to touch and lift your thumb, till the whole process is completed.
Step 4
Now you’ll have two fingerprints registered for the same thumb. Repeat Steps 1 to 3 using the other thumb, and you’ll have both your thumbs registered with Touch ID occupying 4 slots (2 for each thumb).
That’s it, enjoy a much better Touch ID experience on your iPhone 5S!
While the workaround is by no means perfect, it has vastly improved my Touch ID experience and I’m sure it will help you too. Let us know how this works for you in the comments section below.

