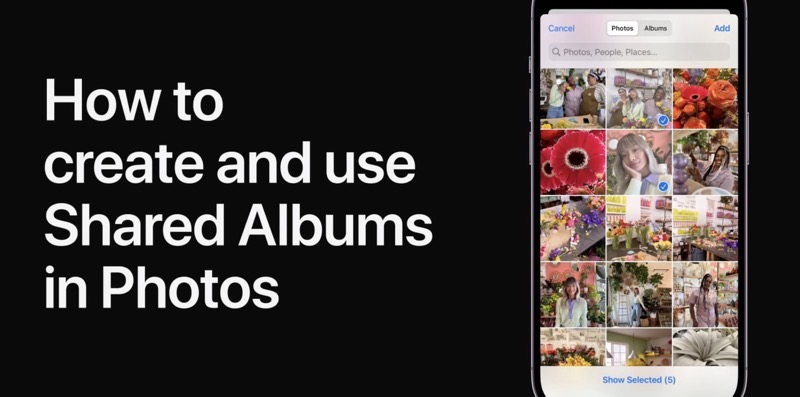
How to Create Shared Photo Albums on iPhone, iPad [VIDEO]
Apple has just published an informative new video on its YouTube support channel, explaining how you can create and use Shared Albums in Photos on your iPhone, iPad, and Mac.

With Shared Albums in Photos you can share your favorite photos with your favorite people, and they can add their own photos and comments, too.
To turn on Shared Albums on your iPhone, iPad, or iPod touch, go to Settings > [your name] > iCloud > Photos, then turn on Shared Albums. Once done, follow these steps to create a new Shared Album:
- Go to the Albums tab and tap the Add button.
- Tap New Shared Album.
- Give the shared album a name, then tap Next.
- Choose people to invite from your contacts, or type an email address or iMessage phone number.
- Tap Create.
When looking at your list of shared albums, you can tap Edit, then tap the Delete button to delete a shared album. When you delete a shared album, it’s automatically removed from all of your devices and the devices of your subscribers.
To invite more people:
- In Albums, select a shared album that you created.
- Tap the People button.
- Tap Invite People.
- Enter the names of people that you want to share this album with.
- Tap Add.
To share an album with friends or family who don’t use iCloud, open a shared album that you created, go to the People tab, and turn on Public Website. Your photos publish to a website that anyone can see in an up-to-date web browser.
Watch the following video to learn how you can create and use Shared Albums in photos on iOS and macOS.


